Best 6 (Secret) DIY Home Repair Tips: Common problems. Genius solutions.
#1 Pre-Painting Prep
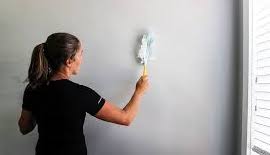
Before you paint, use a floor duster to remove all the dust from your walls. Because of the long handle, you won’t even need to pull out a ladder, and your paint result will be a million times better.
#2 Perfect Paint Lines

I have a secret for you. Even if you have texture on your walls, you can achieve perfect paint lines! You can’t stop paint from bleeding, especially if you have heavy texture like popcorn walls. So the trick is to make the bleed invisible.
After you’ve painted your base color on the wall and taped off your pattern, use the same base wall color and paint along the edges of the tape. This will make the bleed invisible. Then after it’s dry, paint your accent color over the space. Perfect paint lines every time!

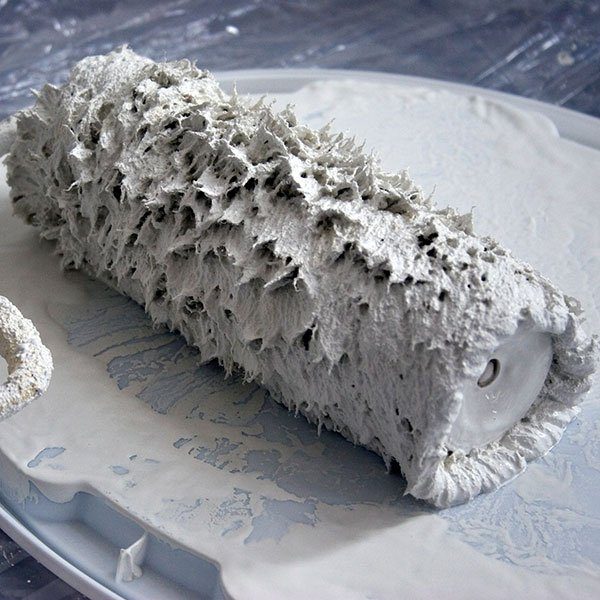
#3 Smooth Caulk Repairs

Getting a smooth finish on caulk can be maddening. And since it’s one of the most common DIY home repairs, knowing to do it easily is key. The chunkiness and unevenness of the caulk can be quite the headache, but luckily, you’ve got everything you need in your house to resolve this problem, and it won’t cost you a thing.
Grab a disposable cup from your kitchen and fill it with water. After you’ve squeezed the caulk onto the seam, dip your finger in the water and run it along the caulk. The water creates a perfect lubricant for your finger. This will give you a smooth finish, and it’s virtually mess free. See how easy here:
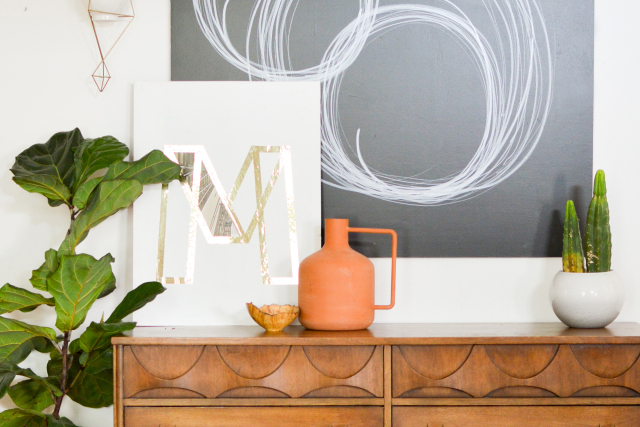
#4 Easy Wood Refinishing
Let’s say you just came across the score of a lifetime at the thrift store: a wooden mid-century dresser that’s in great condition, but the finish isn’t up to your standards.

Don’t worry about having to sand and restain it — just use a product called Danish oil. It’s a cross between a wood conditioner and a stain and will fill in and disguise the places where the color of your finish is all wrong.
#5 Paint Preserver
If you find yourself mid-paint project and have to take a break, roll your roller in the paint to get a nice thick coat and then wrap it in a garbage bag and put it in the fridge. This will keep the paint fresh for up to a week until you can start again.
#6 Art Straighteners
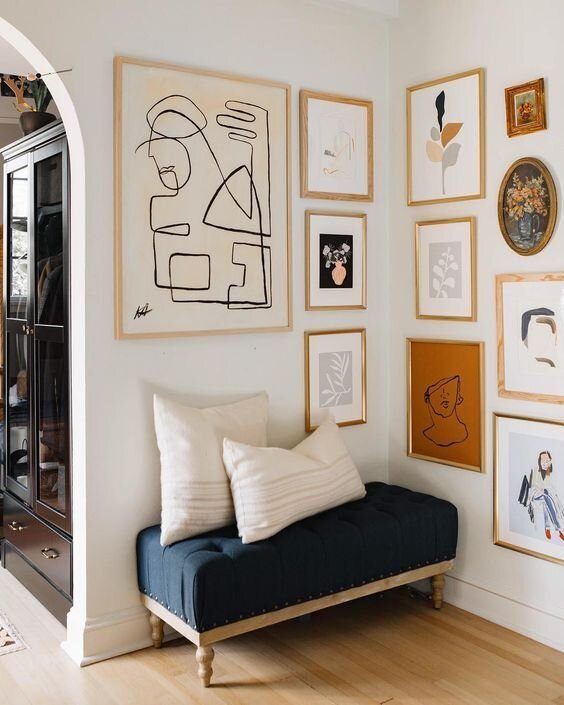
Do you have a problem with the art on your walls staying level? There’s nothing more distracting than having one or two crooked pictures in a gallery wall.
Buy a package of adhesive strips, cut them into small sections, and place them on the back of the frames. It will keep pictures straight and not damage the walls.
We hope that you’ll use these tips to make your DIY home repairs a little bit easier!
Article courtesy of Mandi Gubler / Vintage Revivals
